Bone Broth Recipe for Pregnancy: Mineral Focus
- Time: Active 20 minutes, Passive 12 hours, Total 12 hours 20 mins
- Flavor/Texture Hook: Velvety, gelatinous, and deeply savory
- Perfect for: First trimester nausea and third trimester joint support
- Bone Broth Recipe for Pregnancy
- Physics of Liquid Gold Extraction
- Component Analysis for Nutrient Density
- Elements for High Nutrient Density
- Tools for Long Slow Extractions
- Precise Steps for Optimal Gel
- Solving Flavor and Clarity Issues
- Modifying Profiles for Nausea Relief
- Preservation and Reheating Techniques
- Nutrient Dense Delivery Methods
- Kitchen Myths Debunked
- Recipe FAQs
- 📝 Recipe Card
Bone Broth Recipe for Pregnancy
The sizzle of beef marrow bones hitting a hot roasting pan is a sound I’ve come to associate with pure comfort. I remember standing in my kitchen during my own first trimester, feeling like my body was running a marathon while standing still.
The aroma of roasting garlic and caramelizing beef oxtail filled the house, providing one of the few scents that didn't trigger my morning sickness. It felt like I was brewing a magic potion, something that would finally give me back the energy I’d lost.
We often talk about "liquid gold" in the context of breast milk, but this bone broth recipe for pregnancy is the prenatal equivalent. It’s not just about flavor, it’s about providing your body with the building blocks it needs when you’re literally building a human.
I’ve made every mistake possible, from boiling the broth into a bitter mess to forgetting the vinegar, and I’ve learned exactly how to get that coveted "gel" every single time.
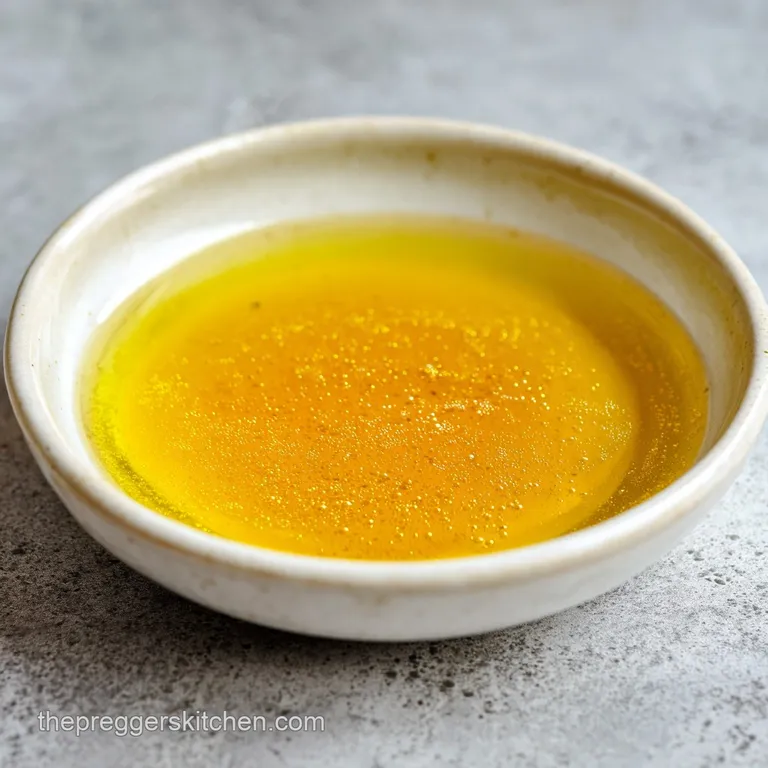
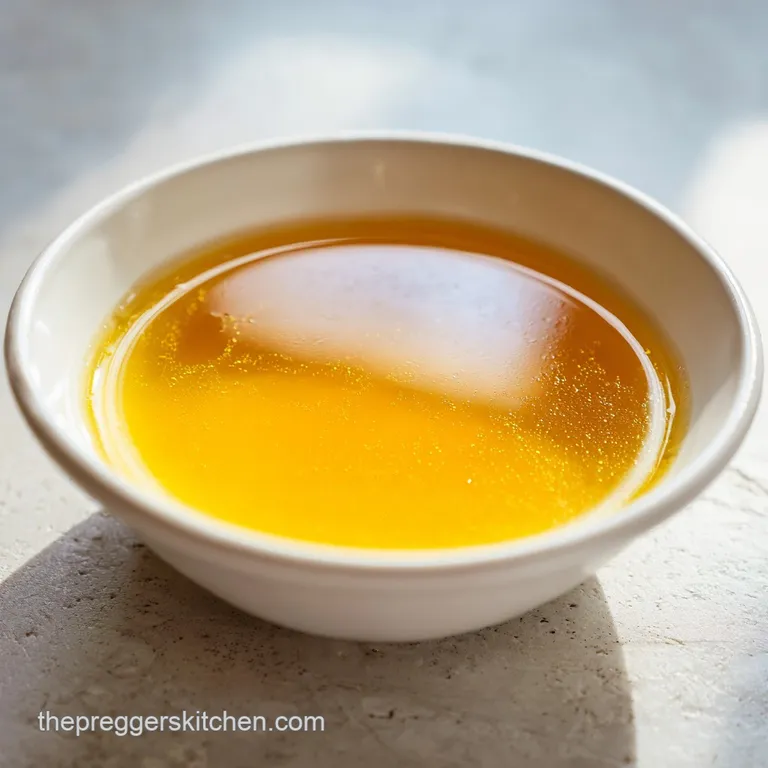
Trust me, there is nothing more satisfying than seeing your broth turn into a thick, collagen rich jelly in the fridge. That texture is your visual cue that you’ve successfully extracted the amino acids your baby’s developing bones and tissues need.
We’re going to walk through the chemistry of the simmer, the importance of the roast, and how to make this work for your specific pregnancy cravings or aversions.
Physics of Liquid Gold Extraction
Thermodynamic Denaturation: Sustained low heat (around 200°F or 93°C) slowly unravels the triple helix structure of collagen, transforming it into digestible gelatin over 12 hours.
Acid Catalyzed Mineral Release: The acetic acid in apple cider vinegar lowers the pH of the water, which helps to demineralize the bone matrix and release calcium and magnesium.
Maillard Reaction Synergy: Roasting bones at 400°F (200°C) before simmering creates complex flavor molecules and deep color that raw bones simply cannot provide.
Selective Particle Sedimentation: Maintaining a sub boiling simmer prevents fat and impurities from emulsifying into the liquid, ensuring a clear, velvety result rather than a greasy one.
| Bone Type | Collagen Level | Flavor Profile | Best For |
|---|---|---|---|
| Marrow Bones | Low | Rich, buttery | Deep flavor and healthy fats |
| Knuckle/Feet | High | Mild, neutral | Maximum "gel" and joint support |
| Oxtail/Short Rib | Medium | Beefy, savory | Adding protein and complexity |
Choosing the right mix of bones is the difference between a thin soup and a nutrient dense concentrate. If you are focused on the "gel" factor, don't skip the knuckle bones or chicken feet. They might look intimidating, but they are the secret to that thick, velvety texture we’re after. If you're struggling with morning sickness and can't face a warm mug of broth, try a Healthy Pregnancy Smoothie recipe instead to keep your energy up.
Component Analysis for Nutrient Density
| Ingredient | Science Role | Pro Secret |
|---|---|---|
| Marrow Bones | Lipid Source | Roast until the marrow is bubbling but not completely liquified. |
| Knuckle Bones | Collagen Matrix | Cut into smaller pieces to increase surface area for extraction. |
| Apple Cider Vinegar | pH Adjuster | Use raw, unfiltered versions to assist in the demineralization process. |
| Fresh Parsley | Vitamin C | Add only in the last 10 minutes to preserve heat sensitive folate. |
Elements for High Nutrient Density
- 2 lbs Grass fed beef marrow bones: Why this? Provides the rich, fatty base and essential fat soluble vitamins.
- Substitute: Bison bones for a leaner, more earthy flavor profile.
- 1 lb Knuckle bones or chicken feet: Why this? The primary source of collagen for fetal tissue support.
- Substitute: Pork trotters (hocks) provide similar gelatinous results.
- 1 lb Meaty bones (short ribs or oxtail): Why this? Adds deep umami flavor and extra protein content.
- Substitute: Beef neck bones are a cost effective alternative for flavor.
- 2 large Carrots, roughly chopped: Why this? Adds natural sweetness and beta carotene for immune health.
- Substitute: Parsnips for a spicier, more peppery undertone.
- 3 stalks Celery, with leaves: Why this? The leaves contain high concentrations of potassium and electrolytes.
- Substitute: Fennel stalks to add a subtle anise note and aid digestion.
- 1 large Yellow onion, halved: Why this? Quercetin in the skin and flesh supports a healthy inflammatory response.
- Substitute: Leeks (white and light green parts) for a milder taste.
- 4 cloves Garlic, smashed: Why this? Allicin provides antimicrobial benefits during the long simmer.
- Substitute: 1 tsp Garlic powder if the smell of fresh garlic is a pregnancy trigger.
- 2 tbsp Raw Apple Cider Vinegar: Why this? Necessary for pulling calcium and magnesium out of the bones.
- Substitute: Lemon juice, though it adds a distinct citrus tang to the final broth.
- 1 tsp Black peppercorns: Why this? Enhances the bioavailability of other nutrients through piperine.
- Substitute: White peppercorns for a less floral, more direct heat.
- 2 Bay leaves: Why this? Contains compounds that help break down heavy proteins for easier digestion.
- Substitute: Fresh thyme sprigs for a different herbal dimension.
- 1 bunch Fresh parsley: Why this? A quick infusion of Vitamin K and Vitamin C at the end.
- Substitute: Fresh cilantro for a brighter, more "taco inspired" base.
- Filtered water: Why this? Prevents chlorine or heavy metals from concentrating during the 12 hour reduction.
Tools for Long Slow Extractions
For this recipe for pregnancy, a large stockpot (at least 12 quarts) is your best friend. You need enough room for the bones to be fully submerged without the water level getting too low during the long simmer.
A slow cooker or Instant Pot can also work, but for the traditional 12 hour stovetop method, a heavy bottomed pot ensures even heat distribution.
You'll also want a fine mesh strainer and some cheesecloth. When you're in your third trimester, the last thing you want is "bits" in your broth. A clean, clear liquid is much easier on the stomach. Finally,, have a roasting pan ready. Roasting the bones is a non negotiable step for flavor and color.
Precise Steps for Optimal Gel
- Roast the bones. Place the marrow bones, knuckle bones, and meaty bones in a roasting pan and bake at 400°F (200°C) for 30 minutes until they are browned and sizzle loudly. Note: This step develops the flavor and removes excess surface fat.
- Deglaze the pan. Transfer the bones to your large stockpot. Add a splash of water to the roasting pan and scrape up all the brown bits (the fond) to add to the pot.
- Add aromatics. Place the carrots, celery, onion, and garlic into the pot with the bones. Note: Don't worry about peeling the onion; the skin adds a beautiful golden color.
- Acidify the soak. Pour in the 2 tbsp of apple cider vinegar and fill the pot with filtered water until the bones are covered by 2 inches. Wait 30 minutes before turning on the heat. Note: This allows the acid to start working on the bone matrix before the heat seals it.
- Bring to a low simmer. Turn the heat to medium high until the water just starts to bubble, then immediately drop it to the lowest setting. Maintain a "lazy bubble" where only one or two bubbles break the surface every few seconds.
- Skim the impurities. During the first 2 hours, use a large spoon to remove any grayish foam that rises to the top. Note: Removing this "scum" ensures a clean flavor and prevents bitterness.
- Add seasonings. Drop in the peppercorns and bay leaves. Let it simmer undisturbed for 12 hours. Note: If the water level drops significantly, add more filtered water to keep bones covered.
- The final infusion. In the last 10 minutes of cooking, stir in the fresh parsley. Wait until the leaves wilt and turn bright green.
- Strain and clarify. Carefully pour the broth through a fine mesh strainer lined with cheesecloth into a large bowl. Note: Discard the spent bones and vegetables; they have given all their nutrients to the liquid.
- Rapid cooling. Place the bowl of broth in an ice bath in the sink. Cool until the liquid is no longer steaming before transferring to glass jars for the fridge.
For a protein packed lunch, you could use this broth as a base for poaching eggs, similar to how we prep our Pregnancy Safe Egg recipe.
Solving Flavor and Clarity Issues
Why Your Broth Didn't "Gel"
If your broth remains liquid even after a night in the fridge, you likely had too much water relative to the amount of knuckle bones used. It can also happen if the simmer was too aggressive, which can damage the delicate protein chains.
Next time, try reducing the water or adding more chicken feet, which are collagen powerhouses.
Why the Broth Tastes Bitter
Bitterness usually comes from two sources: overcooking the vegetables or not skimming the foam. While the bones can simmer for 24 hours, vegetables start to break down and release bitter compounds after about 6 to 8 hours.
You can try adding the veggies halfway through the process next time to keep the flavor bright.
| Problem | Root Cause | Solution |
|---|---|---|
| Greasy mouthfeel | Fat wasn't skimmed | Chill broth overnight and scrape the solid fat disc off the top. |
| Cloudy appearance | Hard boil vs. simmer | Keep heat lower; never let the broth reach a rolling boil. |
| Weak flavor | Lack of roasting | Roast bones at 400°F (200°C) until deep brown before simmering. |
Common Mistakes Checklist
- ✓ Forgot the vinegar (acid is mandatory for mineral extraction).
- ✓ Used too much water (dilutes the collagen concentration).
- ✓ Boiled the broth (creates a cloudy, emulsified mess).
- ✓ Added salt too early (reduction makes it too salty; salt at the very end).
- ✓ Didn't roast the bones (results in a pale, "raw" tasting broth).
Modifying Profiles for Nausea Relief
If you're in your first trimester and the smell of beef is too much, try a chicken broth recipe for pregnancy instead. Use 3 lbs of chicken carcasses and feet. The flavor is milder and often easier to tolerate when you're feeling green.
You can also make a "Ginger Lemon" version by adding 3 inches of sliced ginger and the peel of one lemon in the last hour of simmering. The ginger acts as a natural anti nausea agent.
For those in their third trimester who need to watch their sodium, this homemade version is far superior to store-bought. You control exactly how much salt goes in. If you want a "Pho inspired" broth, add star anise and cinnamon sticks to the simmer. It creates a warm, aromatic profile that is incredibly soothing.
Preservation and Reheating Techniques
Storage: Store the finished broth in glass jars in the fridge for up to 5 days. You will see a layer of fat form on the top leave it there! It acts as a natural seal to keep the broth fresh. When you're ready to drink it, just scrape away the fat (or stir it in for extra nutrients).
Freezing: For long term storage, freeze the broth in silicone muffin molds or ice cube trays. Once frozen, pop them into a freezer bag. They stay fresh for up to 6 months. This is perfect for when you just need a small amount for a sauce or a quick mug of warmth.
Zero Waste: Don't throw away that fat layer (tallow)! You can use it to roast potatoes or sauté vegetables. It’s packed with flavor and over high heat stable. Also, if you have a dog, the "spent" carrots (minus the onions and garlic) make a great topper for their food.
Nutrient Dense Delivery Methods
Drinking this bone broth straight from a mug is the most common way to enjoy it, especially in the morning. However, if the flavor is too intense, use it as the liquid base for cooking quinoa or rice. It infuses the grains with protein and minerals without you even noticing.
Another trick is to use it in place of water for any savory recipe. Making a quick pan sauce? Use broth. Steaming veggies? Use a splash of broth. It's a simple way to sneak in extra nourishment for you and the baby throughout the day.
I personally love whisking in a little bit of miso paste right before drinking for an extra probiotic boost and a hit of salty goodness.
Kitchen Myths Debunked
One common myth is that you can just keep adding water to the same bones for days. While you can get a "second wash" (remouillage), the nutrient density drops significantly after the first 12 to 15 hours.
The bones will eventually become soft and crumbly that’s when you know they are completely spent.
Another misconception is that the vinegar makes the broth taste sour. In a giant pot of water, 2 tablespoons of vinegar are completely neutralized by the minerals in the bones. You won't taste it at all, but your body will definitely feel the difference in the mineral content of the final product.
Finally, some people think you shouldn't roast the bones because it "kills the nutrients." This is incorrect. The heat required to brown the bones is far below what would destroy the minerals, and the flavor benefits are essential for making the broth something you actually want to drink every day.

Recipe FAQs
Is bone broth safe for pregnancy?
Yes, bone broth is generally very safe and highly recommended during pregnancy. It provides vital gelatin, amino acids, and minerals that support fetal development and maternal joint health. Always ensure you simmer it long enough (12+ hours) for maximum nutrient extraction and cleanliness.
Which soup is best for a pregnant woman?
Bone broth is arguably the best liquid base for pregnant women. Its high gelatin content supports gut health, which is crucial during pregnancy, and it’s easily digestible when nausea strikes. For a complete meal, use it as the base for our Pregnancy Safe Veggie recipe.
What is the best liquid to drink while pregnant?
Water is paramount, but bone broth is the best nutritional liquid addition. Broth replenishes electrolytes lost due to morning sickness and delivers concentrated collagen and minerals. Aim for one cup daily alongside your regular water intake.
How much bone broth to drink for fertility?
For fertility support, aim for 1 to 2 cups daily, simmering bones for the full 18-24 hours. The goal is to maximize glycine and arginine intake, which support reproductive health. If you enjoy making energy boosters, try incorporating this into the base of the Date Energy Balls recipe for added richness.
Do I have to roast the bones before simmering?
No, but roasting is critical for superior flavor and color. Roasting the bones at 400°F creates deep Maillard reaction compounds that result in a savory, velvety broth, which is more palatable during pregnancy aversions.
Can I use chicken feet instead of beef bones?
Yes, chicken feet are an excellent, budget friendly substitute for high collagen beef bones. They render a significant amount of gelatin, ensuring your final product sets firm in the fridge. If you enjoyed mastering the slow extraction technique here, apply the same low-and-slow temperature control to our Pregnancy Friendly Charcuterie recipe when making accompanying sauces.
Is it true that boiling the broth destroys the beneficial gelatin?
False, but boiling severely compromises the quality and clarity of the broth. While boiling doesn't instantly destroy all gelatin, it causes impurities to emulsify, resulting in a greasy mouthfeel and cloudy appearance rather than the desired clear, velvety texture.
Bone Broth Pregnancy Recipe
Ingredients:
Instructions:
Nutrition Facts:
| Calories | 48 kcal |
|---|---|
| Protein | 9.2 g |
| Fat | 1.4 g |
| Carbs | 0.9 g |
| Fiber | 0.1 g |
| Sugar | 0.4 g |
| Sodium | 88 mg |
