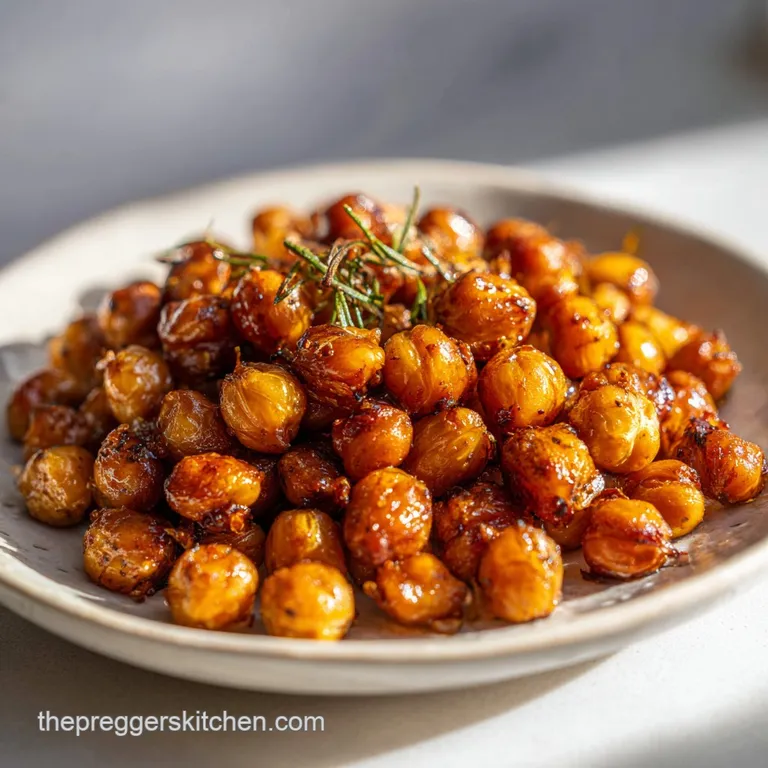
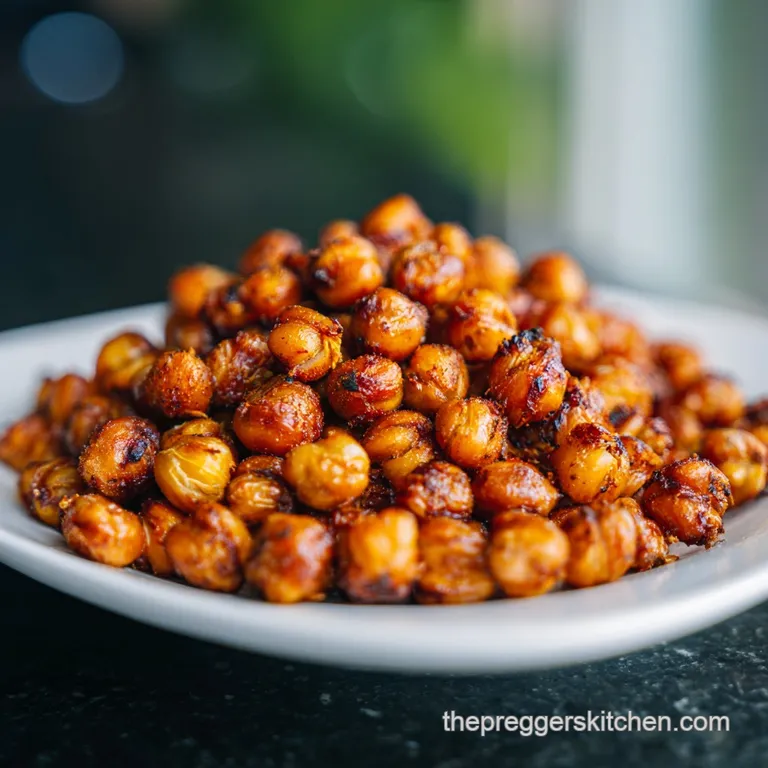
Roasted Chickpea Snack Recipe: Shatter Crisp
- Time: Active 10 mins, Passive 35 mins, Total 45 mins
- Flavor/Texture Hook: Smoky, shatter crisp, and intensely savory
- Perfect for: budget-friendly fuel, desk snacks, or salad toppers
- Achieving the Best Results with Your Roasted Chickpea Snack Recipe
- The Essential Science Behind Creating the Perfect Golden Crunch
- Component Analysis for Optimal Snacking Results
- Everything You Need for Your Crispy Snack Success
- The Best Kitchen Tools for High Heat Roasting
- Your Step by Step Guide to High Protein Snacking
- Solving the Most Common Soggy Chickpea Problems Quickly
- Adapting Your Recipe for Different Tastes and Diets
- Proper Storage and Reducing Waste in Your Kitchen
- Finishing Touches for a Beautiful and Crunchy Presentation
- Recipe FAQs
- 📝 Recipe Card
Achieving the Best Results with Your Roasted Chickpea Snack Recipe
You know that specific thwack sound when you dump a can of chickpeas into a metal colander? That’s the sound of a five minute prep session about to change your snack game forever. Last Tuesday, I was staring at my pantry, starving and refusing to spend $6 on a tiny bag of "artisanal" dried beans.
I grabbed two cans, cranked the oven, and waited for that specific nutty aroma to fill the kitchen the one that tells you the starch is finally turning into gold.
The secret to this roasted chickpea snack recipe isn't just the heat; it's the patience. I’ve made the mistake of rushing them before, resulting in a snack that's crispy on the outside but unpleasantly mushy in the middle. We're looking for a total texture transformation.
When you bite down, it should sound like a dry twig snapping. It's the ultimate budget friendly fuel that actually keeps you full until dinner.
We're going to use a simple spice blend that hits all the right notes: smoky, earthy, and just a tiny bit of heat. This isn't about fancy techniques; it's about basic physics and getting as much moisture out of those beans as possible.
Once you master the "dry roast" method I'm about to show you, you'll never look at a can of chickpeas the same way again. Let’s get that oven preheated and crack on.
The Essential Science Behind Creating the Perfect Golden Crunch
The Physics of the Final Crunch
Evaporative Dehydration: High intensity heat forces the moisture trapped inside the chickpea’s cellular structure to steam and escape, leaving behind a rigid, hollow starch skeleton. This creates the signature "shatter" texture rather than a chewy or dense bite.
- Starch Retrogradation: As the chickpeas cool after roasting, the starch molecules realign into a crystalline structure, which actually increases the perceived "snap" of the snack.
- Surface Area Maximization: Removing the thin, translucent skins (if you have the patience) allows the hot air to hit the bean's surface directly, accelerating the drying process.
- Lipid Heat Transfer: Olive oil acts as a thermal bridge, ensuring the heat is distributed evenly across the curved surface of every single bean.
- Maillard Reaction: The combination of protein and natural sugars in the chickpeas reacts at 140°C to create those complex, toasted flavor compounds.
| Method | Time | Texture Outcome | Best For |
|---|---|---|---|
| Standard Oven | 35 mins | Evenly golden, very dry | Long term storage snacks |
| Air Fryer | 15 mins | Extra bubbly skin, softer core | Immediate eating |
| High Heat (220°C) | 25 mins | Darker, nuttier flavor | Bold, spicy seasonings |
Selecting the right method depends on how much time you have before your next meeting or workout. While the air fryer is lightning fast, the steady, even heat of a traditional oven is the gold standard for a snack that stays crispy in a jar for more than an hour.
Component Analysis for Optimal Snacking Results
| Ingredient | Science Role | Pro Secret |
|---|---|---|
| Chickpeas (2 cans) | Structural Foundation | Rinse them until the water runs clear to remove excess starch and salt. |
| Olive Oil (30 ml) | Thermal Conductor | Apply after the initial dry roast to prevent the skin from sealing in moisture. |
| Sea Salt (5 g) | Flavor Enhancer | Fine grain salt sticks better to the curved surfaces than chunky flakes. |
| Smoked Paprika (2 g) | Aromatic Profile | The oil soluble compounds in paprika bloom under heat, deepening the red hue. |
Every ingredient in this roasted chickpea snack recipe serves a specific purpose. If you're looking for more ways to use these pantry powerhouses, they make an excellent protein packed side for my Stuffed Bell Peppers recipe.
Everything You Need for Your Crispy Snack Success
To get started, you'll need the following ingredients from your pantry. I've included some quick swaps if you're running low on the basics.
- 2 cans (15 oz each) chickpeas: Why this? Canned beans are pre cooked, saving hours of soaking and boiling time.
- Substitute: 3 cups of home cooked chickpeas (ensure they are very well drained).
- 2 tbsp extra virgin olive oil: Why this? Provides the fat needed for the Maillard reaction and spice adhesion.
- Substitute: Avocado oil or melted ghee for a higher smoke point.
- 1 tsp fine grain sea salt: Why this? Penetrates the skin and highlights the nutty notes of the bean.
- Substitute: Kosher salt, but double the volume if using Diamond Crystal.
- 1 tsp smoked paprika: Why this? Adds a deep, wood fired flavor without the need for a grill.
- Substitute: Regular sweet paprika or a dash of liquid smoke in the oil.
- 1/2 tsp cumin: Why this? Provides an earthy base that anchors the brighter spices.
- Substitute: Ground coriander for a more citrusy, floral vibe.
- 1/2 tsp garlic powder: Why this? Offers savory depth that won't burn as easily as fresh garlic.
- Substitute: Onion powder or a pinch of asafoetida.
- 1/4 tsp cayenne pepper: Why this? Delivers a clean heat that builds slowly on the palate.
- Substitute: Red pepper flakes or a dash of chili powder.
The Best Kitchen Tools for High Heat Roasting
You don't need a professional kitchen, but a few specific tools make the "crisp factor" much easier to achieve. A large, rimmed baking sheet (like a half sheet pan) is non negotiable crowding the beans is the fastest way to end up with a soggy mess.
I also highly recommend using a clean, lint free kitchen towel instead of paper towels for drying; it absorbs significantly more moisture and is better for your budget.
A colander is essential for that thorough rinse, and a small glass bowl works best for whisking your spices. If you have a cooling rack that fits inside your baking sheet, even better it allows air to circulate under the chickpeas during the final ten minutes.
Otherwise, just a standard parchment lined tray will do the trick perfectly.
Your step-by-step Guide to High Protein Snacking
- Preheat your oven to 200°C (400°F). Note: A hot oven is crucial for immediate moisture evaporation.
- Rinse the 2 cans of chickpeas in a colander under cold water until the foam disappears completely.
- Dry the chickpeas by rolling them between two clean kitchen towels. Note: Spend a full 2 minutes on this; they must be bone dry to the touch.
- Spread the dry chickpeas onto a bare baking sheet in a single layer. Ensure no two beans are touching.
- Roast for 20 minutes until the skins look papery and slightly shriveled. This is the "dry roast" phase.
- Remove the tray from the oven and drizzle with 2 tbsp extra virgin olive oil. Toss until every bean is glistening.
- Sprinkle the salt, smoked paprika, cumin, garlic powder, and cayenne over the oiled beans. Stir vigorously to coat.
- Return to the oven and bake for another 10-15 minutes until the beans rattle when you shake the pan.
- Turn off the oven and crack the door open slightly. Let them sit inside for 10 minutes to finish hardening.
- Transfer to a bowl once cooled. Much like the protein boost in my Chicken Salad for recipe, these add a fantastic texture to any quick lunch.
Solving the Most Common Soggy Chickpea Problems Quickly
Fixing the Soggy Center
If your chickpeas are crunchy on the outside but soft in the middle, the internal moisture didn't have enough time to escape. This usually happens if the oven was too hot (sealing the outside too fast) or if the beans weren't dried properly before roasting.
Next time, try the "oven cool" trick: once they are done, turn off the heat and let them sit in the cooling oven for 10-15 minutes. This acts like a dehydrator, pulling out those last bits of steam.
Avoiding Burnt Spice Flavor
Burning your spices is a common mistake I once made by adding them right at the start. Most spices, especially paprika and garlic powder, have a very low burn point. By roasting the chickpeas "naked" for the first 20 minutes and adding the seasoning only for the final leg, you preserve the bright flavors without the bitter, carbonized aftertaste.
| Problem | Root Cause | Solution |
|---|---|---|
| Chewy texture | Excess surface moisture | Pat beans dry with a towel until skins start to flake off. |
| Bitter taste | Spices burned | Add seasonings during the last 10-15 minutes of roasting only. |
| Uneven browning | Overcrowded pan | Use a larger sheet or roast in two separate batches. |
Chef's Tip: For the absolute loudest crunch, peel the skins off the chickpeas after drying. It takes about 10 minutes while watching TV, but it allows the heat to penetrate the bean much faster.
- ✓ Always use a rimmed baking sheet to prevent beans from rolling into the oven.
- ✓ Check your oven temperature with a thermometer; many run 15 degrees cold.
- ✓ Avoid using a silicone baking mat if you want maximum crispiness; parchment or bare metal is better.
- ✓ Don't add the salt until the oil is on the beans, or it will just fall to the bottom of the pan.
Adapting Your Recipe for Different Tastes and Diets
Scaling for the Family
If you're cooking for a crowd, you can easily double this recipe. However, do not just pile them onto one tray. You'll need two separate baking sheets to ensure the air can circulate.
If you scale down to one can, reduce the roasting time by about 5 minutes, as a less crowded pan will cook slightly faster.
The Air Fryer Method
For a "grab and-go" solution when you're short on time, use your air fryer. Set it to 190°C and cook the dried, oiled, and seasoned chickpeas for 12-15 minutes, shaking the basket every 4 minutes.
They won't stay crispy as long as the oven-roasted version, but they are great for an immediate high protein fuel fix.
| Servings | Chickpea Quantity | Oil Amount | Total Cook Time |
|---|---|---|---|
| 2 People | 1 Can (15 oz) | 1 tbsp | 30-35 mins |
| 4 People | 2 Cans (15 oz) | 2 tbsp | 35-45 mins |
| 8 People | 4 Cans (15 oz) | 4 tbsp | 45-55 mins |
Sweet Cinnamon Sugar Twist
If you have a sweet tooth, skip the savory spices. Toss the dry roasted chickpeas in 1 tbsp of melted coconut oil, 1 tsp of cinnamon, and 1 tbsp of maple sugar. It tastes like a healthy version of those cinnamon roasted nuts you find at the fair.
Proper Storage and Reducing Waste in Your Kitchen
Storage Guidelines
The biggest enemy of the roasted chickpea snack recipe is humidity. Once they are completely cool and I mean completely—store them in a glass jar with a loose fitting lid.
If you seal them in an airtight plastic container while they are even slightly warm, they will create steam and turn soggy within an hour. They'll stay good for about 4 days on the counter. Don't bother refrigerating them; the moisture in the fridge will ruin the texture instantly.
Zero Waste Tips
Don't throw away that liquid from the chickpea can! That's "aquafaba." You can whip it up into a vegan meringue or use it as a binder in baking. Also, if you find your chickpeas have lost their crunch after a few days, just pop them back into a hot oven or air fryer for 3 minutes.
They'll crisp right back up like they were just made.
Finishing Touches for a Beautiful and Crunchy Presentation
The Peeling Skin Myth
A lot of people think you must peel every single chickpea to get them crispy. Honestly? It helps, but it’s not strictly necessary for a casual snack. If you’re making these for a fancy mezze platter, the peeled ones look more professional and uniform, but for a Tuesday afternoon desk snack, don't stress the skins.
The flavor is exactly the same either way.
Pre Soaking vs Canned Beans
You might hear purists say you have to start with dried beans. While soaking and boiling your own chickpeas can save you a few more cents, the difference in the final snack's crunch is minimal. For a direct, efficient cook like me, the convenience of canned beans wins every time.
If you do use home cooked beans, just make sure they aren't overcooked to the point of falling apart, or they'll turn into a paste on the baking sheet.
These little golden nuggets are incredibly versatile. I love throwing a handful over a salad or even using them as a "crouton" substitute. They add that necessary "snap" to softer dishes, much like the textural contrast I aim for in my Safe Sushi Bowl recipe. No matter how you serve them, just make sure you make a double batch they disappear faster than you'd think!

Recipe FAQs
How do you roast chickpeas as a snack?
Roast at 200°C (400°F) after thoroughly drying the rinsed canned beans. Toss them with oil and spices, roast naked for 20 minutes, then toss again with oil/spices and return for 10-15 more minutes until rattling. This two-stage process guarantees dryness.
Are roasted chickpeas a healthy snack?
Yes, they are generally very healthy. Chickpeas are high in plant based protein and fiber, making them incredibly satisfying. Keep the added oil and salt minimal for the best nutritional profile.
Do I need to cook chickpeas before roasting them?
No, use canned or fully pre-cooked chickpeas for this recipe. Canned beans have already undergone the necessary cooking process, saving significant time. Ensure you rinse and dry them excessively to remove surface starch.
What's the secret to super crispy chickpeas?
The secret is aggressive pre-drying and a two-stage cooking method. After rinsing, use a towel to pat them until they feel completely dry, and then add the oil and seasoning only for the final cooking stage to prevent burning the spices.
Can I use dried chickpeas instead of canned?
Yes, you can start with dried beans, but it requires pre-soaking and boiling first. Ensure your home cooked chickpeas are not mushy; a slightly undercooked texture works best for roasting. This technique is similar to managing texture in the Pregnancy Safe Veggie recipe.
How long do roasted chickpeas stay crispy?
They stay crispy for about 4 days if stored correctly. Store them in a jar with a loose lid at room temperature to allow air exchange. A sealed, airtight container will cause them to steam and turn soggy quickly.
What temperature should I roast chickpeas at for maximum crunch?
Start at a high temperature of 200°C (400°F) and finish slightly lower if needed. High heat drives off moisture quickly, which is essential for the brittle texture. If you master this high heat dehydration technique, apply the same focus on temperature control when learning our Peanut Butter Banana recipe for perfectly set toppings.
Roasted Chickpea Snack Recipe

Ingredients:
Instructions:
Nutrition Facts:
| Calories | 269 calories |
|---|---|
| Protein | 11.3 g |
| Fat | 10.1 g |
| Carbs | 35.0 g |
| Fiber | 9.7 g |
| Sugar | 6.1 g |
| Sodium | 596 mg |
