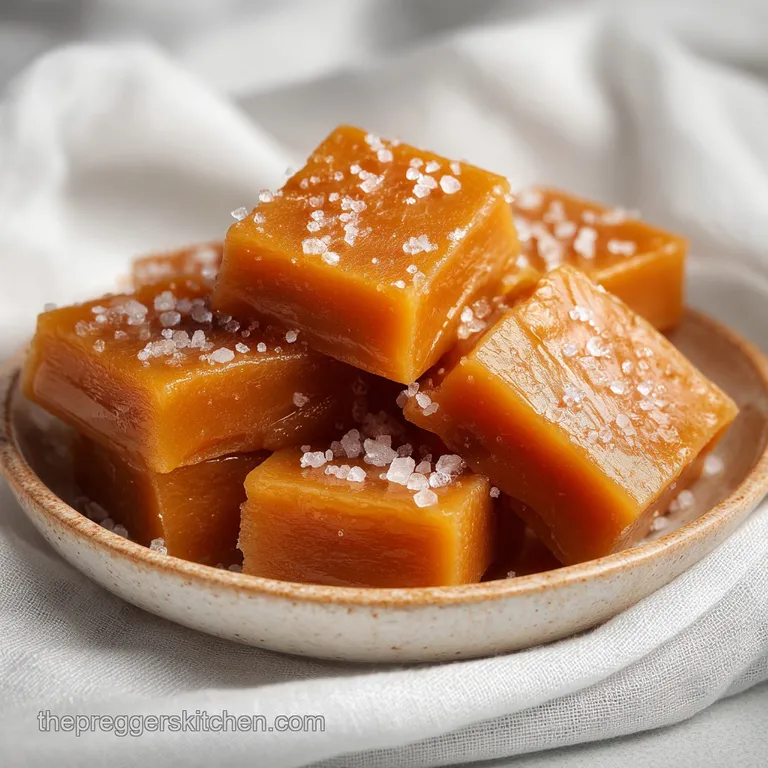
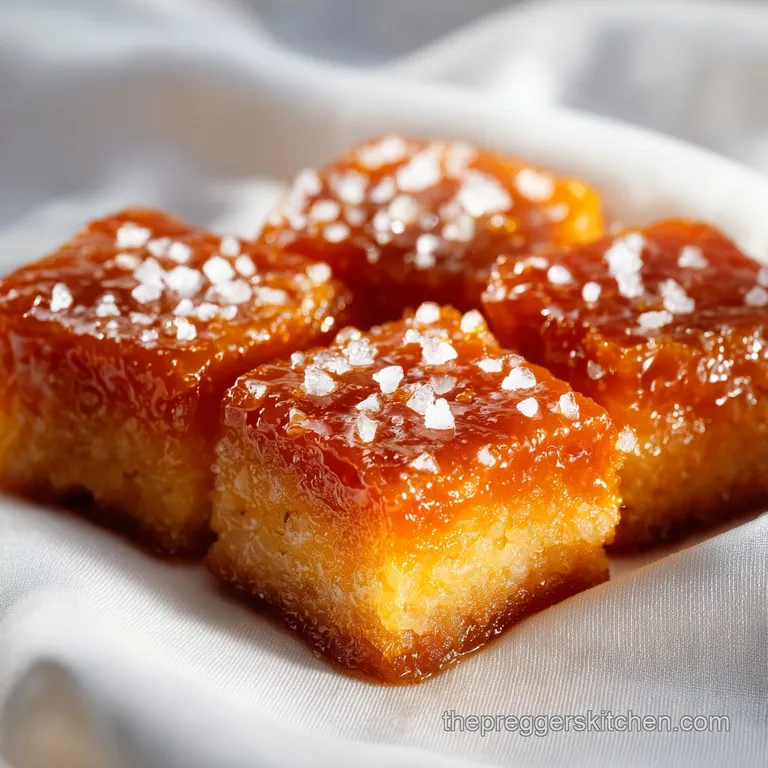
Microwave Caramels: Silky and Homemade
- Time: 2 min active + 6 min cook + 2 hours chilling = Total 128 mins
- Flavor/Texture Hook: Deep mahogany color with a velvety, salty sweet pull
- Perfect for: Last minute holiday gifts or intense sweet and salty cravings
The Trick for Better Texture
Getting the chew right in a microwave is all about controlling the evaporation. Since we aren't using a candy thermometer, we rely on the "soft ball" stage, which is a classic trick that never fails.
- Interference Agents
- Light corn syrup and the glucose in condensed milk act as "interference agents," stopping the sucrose from bonding into crystals. This is what prevents that gritty, sandy texture.
- Fat Stabilization
- The butter doesn't just add flavor; it coats the sugar molecules, creating a smoother mouthfeel.
- The Water Test
- Dropping hot sugar into ice water forces an immediate set, showing you exactly how the candy will behave once it cools.
- Residual Cooking
- The sugar continues to cook for a minute after you take it out, which is why adding the vanilla and salt immediately is key to stopping the process.
| Method | Time | Texture | Best For |
|---|---|---|---|
| Microwave | 6 min | Soft and velvety | Quick cravings |
| Stovetop | 25 min | Dense and chewy | Large batches |
| Slow Cooker | 4 hours | Fudgy/Soft | Hands off prep |
Right then, before we get to the list, we need to look at what these ingredients are actually doing in the bowl. It's not just about sweetness; it's about the structure.
| Ingredient | Science Role | Pro Secret |
|---|---|---|
| Corn Syrup | Prevents crystallization | Ensures a glass smooth finish |
| Condensed Milk | Provides protein/stability | Creates a creamy, opaque look |
| Brown Sugar | Adds molasses depth | Gives that signature mahogany hue |
Quick Timing and Yield
Since we're working with sugar, timing is everything. You can't just set a timer and walk away to check your phone, or you'll end up with a smoky kitchen and a ruined bowl.
This batch is designed to be generous. You'll get 64 individual caramels, which is plenty for a party or a few bags of gifts. The active work is incredibly fast, but the patience comes in the cooling phase.
I've tried to rush the set by putting them in the freezer, but that sometimes creates a weird condensation on the surface. Stick to the room temperature set for the best texture.
Essential Pantry Ingredients
Grab these from the cupboard. I recommend using a high-quality butter because the fat is the primary carrier for the salt and vanilla.
- 1 cup (200g) unsalted butter, cubed Why this? Cubes melt evenly and prevent hot spots
- 1 cup (200g) light brown sugar, packed Why this? Molasses content adds the essential caramel flavor
- 1/2 cup (160g) light corn syrup Why this? Stops the sugar from becoming grainy
- 1 can (14 oz / 397g) sweetened condensed milk Why this? Adds creaminess and structural stability
- 1 tsp (5ml) vanilla extract Why this? Cuts through the richness of the fat
- 1/2 tsp (3g) fine sea salt Why this? Balances the sugar and enhances the mahogany notes
| Original Ingredient | Substitute | Why It Works |
|---|---|---|
| Light Brown Sugar | Dark Brown Sugar | More molasses. Note: Result will be darker and more bitter |
| Corn Syrup | Maple Syrup | Similar viscosity. Note: Adds a distinct maple flavor |
| Unsalted Butter | Salted Butter | Same fat content. Note: Reduce the added sea salt by half |
Honestly, don't even bother with low-fat butter or margarine here. You need the saturated fat to get that shatter free, velvety pull. If you're craving something with a harder snap, my homemade toffee recipe is a great alternative.
The Right Gear
You don't need a fancy candy lab, but you do need a bowl that can handle the heat and the volume.
First, get a deep, microwave safe glass bowl (Pyrex is the standard). Do not use a shallow dish. The sugar will bubble up violently, and if the bowl is too small, it will overflow in seconds, leaving you with a burnt sugar mess on your microwave floor.
You'll also need a sturdy silicone spatula. Metal spoons can scratch the glass, and plastic ones might melt if they touch the sides of the bowl during the final stretch. Finally, an 8x8 inch baking pan and a roll of parchment paper are non negotiable.
Trying to pour hot caramel directly onto a pan is a recipe for a scrubbing nightmare.
Step by step Guide
Let's crack on. Follow these steps closely, and keep your eyes on the bowl during the heating process.
- Line an 8x8 inch baking pan with parchment paper, leaving an overhang on two sides for easy removal. Note: This allows you to lift the whole block out at once
- Combine the cubed butter, brown sugar, corn syrup, and sweetened condensed milk in a deep microwave safe glass bowl.
- Microwave on HIGH for 3 minutes, then remove and stir vigorously with a spatula until smooth.
- Return to the microwave for another 2–3 minutes, stirring every 45 seconds, until the mixture bubbles and reaches a deep, golden mahogany color.
- Test the set by dropping a small spoonful of hot caramel into a glass of ice water; it should form a soft, pliable ball that holds its shape.
- Remove from microwave and immediately stir in the vanilla extract and salt. Note: The mixture will sizzle slightly when the vanilla hits
- Pour the mixture into the prepared pan and smooth the top with a spatula.
- Allow the caramels to set at room temperature for 2 hours (or refrigerate for 1 hour for a faster set).
- Lift the parchment paper, slice the block into 64 small squares using a sharp knife or pizza cutter, and wrap individually in wax paper.
Fixing Common Errors
Even for the most obsessed home cooks, things can go sideways. Usually, it's a temperature issue.
Grainy Texture Causes
If your caramels feel sandy, the sugar has crystallized. This happens if you don't stir enough or if you didn't use corn syrup. The sugar molecules clump together instead of staying smooth.
Correcting a Soft Set
If the caramels are too gooey to cut, they didn't reach the soft ball stage. You can actually put the block back in the microwave for 30 second bursts, but it's easier to just use them as a caramel sauce for ice cream.
| Problem | Root Cause | Solution |
|---|---|---|
| Rubbery Texture | Overcooked | Stop at a lighter mahogany color |
| Runny/Gooey | Undercooked | Microwave in 45 sec intervals longer |
| Burnt Taste | Microwave hotspots | Stir more frequently every 45 seconds |
- ✓ Pat your pan corners well with parchment to avoid leaks
- ✓ Use a deep bowl to prevent sugar boil overs
- ✓ Stir vigorously after the first 3 minute mark
- ✓ Always use the ice water test before removing from heat
- ✓ Let the block cool completely before attempting to slice
Mixing New Flavors
Once you've mastered the base, you can start playing with the flavor profile. The mahogany base is incredibly versatile.
For a salted caramel vibe, increase the sea salt to a full teaspoon and add a pinch of flaky Maldon salt on top of the caramels before they set. If you want something richer, try adding a teaspoon of espresso powder along with the vanilla; it deepens the coffee notes and cuts through the sweetness.
You could also try a boozy twist by stirring in a tablespoon of spiced rum or bourbon at the very end. Just be careful, as alcohol can slightly thin the consistency. These would be an incredible addition to frozen s'mores bars for a double hit of sweetness.
Storage and Prep
These keep surprisingly well, but they hate humidity. If they're left uncovered in a damp kitchen, they'll start to "sweat" and get sticky.
Store your wrapped caramels in an airtight container. They'll stay fresh in the fridge for up to 3 weeks or in the freezer for 3 months. If you freeze them, let them thaw for 10 minutes before eating to get that signature pull back.
For zero waste, if you have a little bit of caramel left in the bowl, don't scrub it out with soap immediately. Add a splash of warm heavy cream or milk and stir it in. You've just made a small batch of salted caramel sauce for your morning coffee.
Best Pairings
These are intense, so you need something to balance the richness. I love serving them with a tart Granny Smith apple slice. The acidity of the apple cuts right through the velvety butter of the caramel.
They also pair beautifully with a sharp cheddar cheese. I know it sounds weird, but the salty, pungent cheese against the sweet, deep sugar is a total craving satisfier. For a dessert platter, pair them with some roasted almonds or dark chocolate squares.
The contrast between the snap of the chocolate and the pull of the caramel is just brilliant.
Recipe FAQs
Can I store these caramels in the refrigerator?
Yes, for up to 3 weeks. Keep the wrapped caramels in an airtight container to prevent them from absorbing fridge odors.
Is it true I need a candy thermometer to get the right set?
No, this is a common misconception. You can accurately test the set by dropping a small spoonful of hot caramel into ice water to see if it forms a soft ball.
How do I know when the caramel is finished cooking?
Drop a small spoonful of hot caramel into a glass of ice water. The mixture is done when it forms a soft, pliable ball that holds its shape.
Can I use a plastic bowl for this recipe?
No, use a deep microwave safe glass bowl. The sugar reaches extreme temperatures that can warp or melt plastic containers.
How to slice the caramels without them sticking?
Lift the block out using the parchment paper overhang. Use a sharp knife or pizza cutter to slice the block into 64 small squares.
Why are my caramels too sticky?
They may not have cooked long enough or are exposed to humidity. If you enjoyed mastering texture control here, see how the same principle works in our no bake energy balls.
How to make the caramels set faster?
Refrigerate the pan for 1 hour. Otherwise, let them sit at room temperature for 2 hours before you begin slicing.
Microwave Caramels

